How to create a campaign
Classic campaign
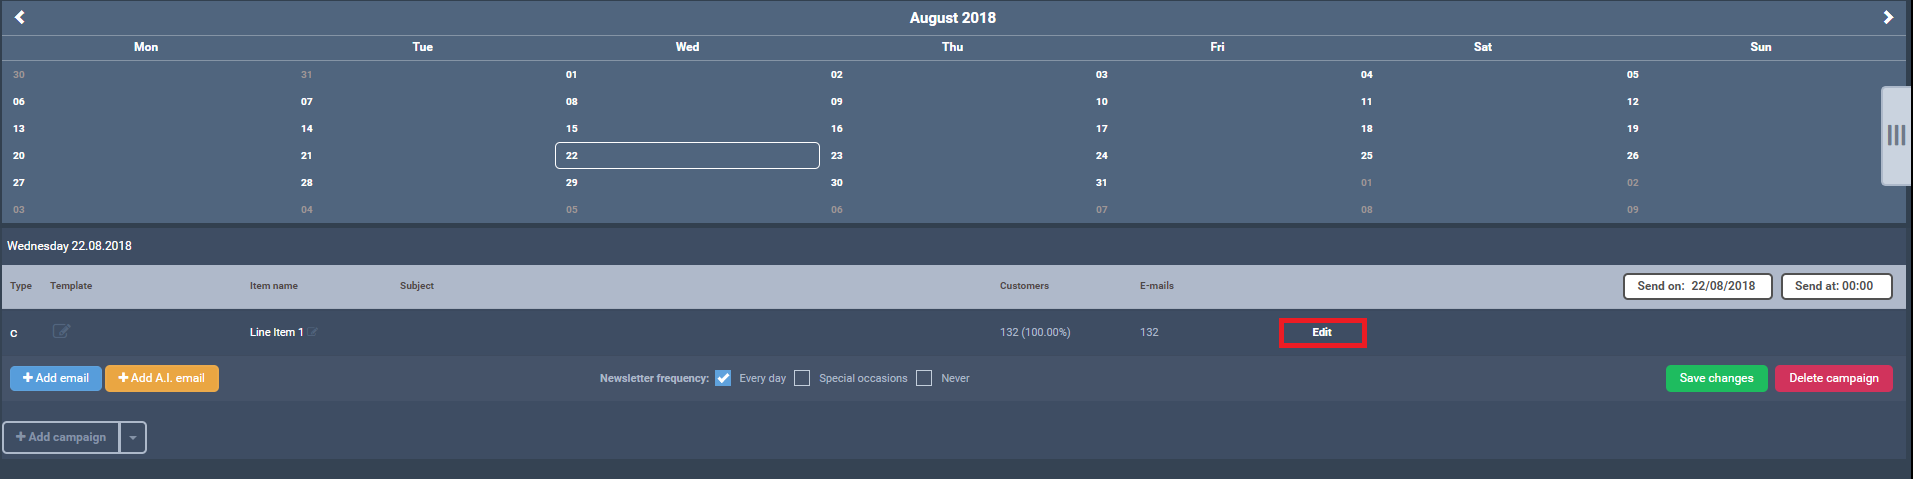
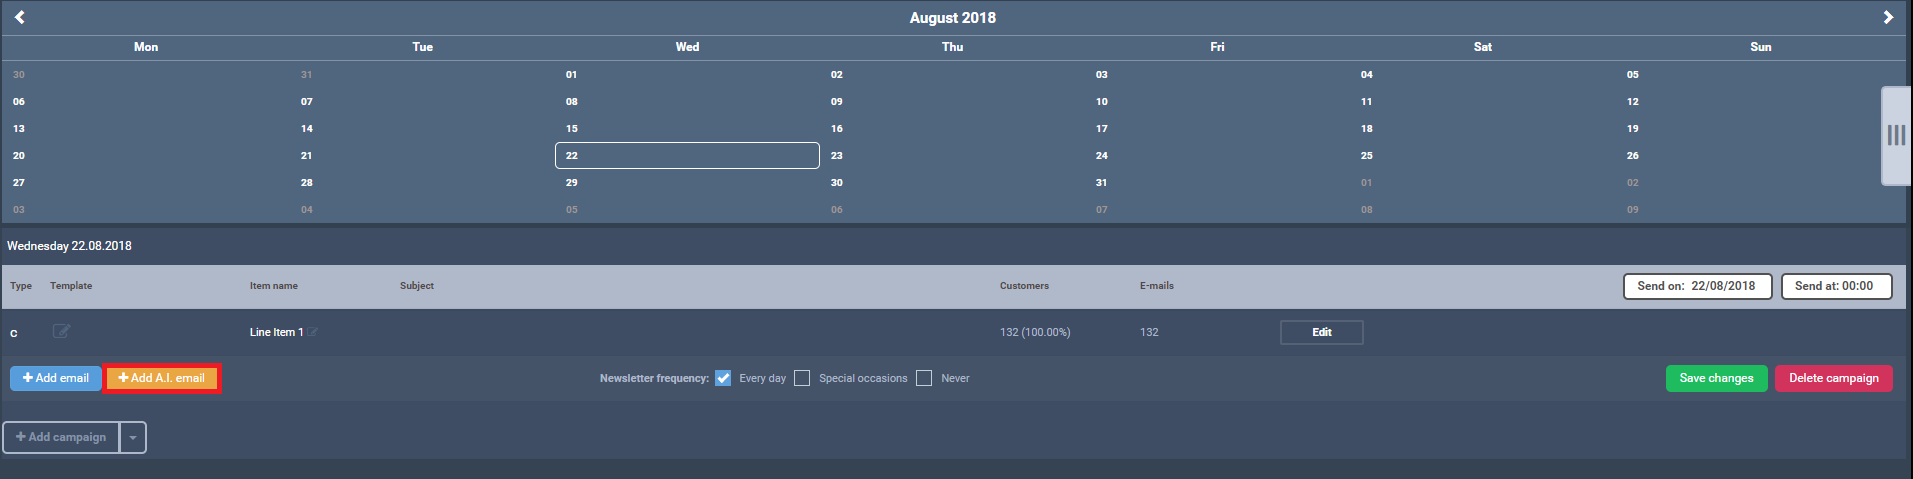
Go to the calendar and select a date. Start your first campaign by hitting “+Add camapign” button. Then by using “Edit” button, you can set newsletter template and other parameters.

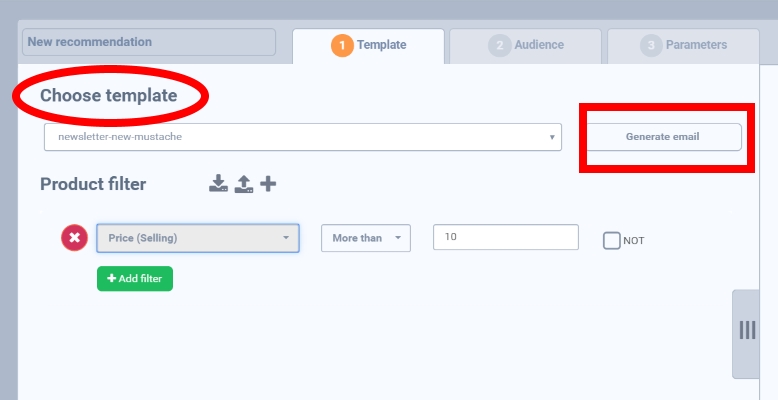
In the first step, choose a newsletter template which you have uploaded in Assets already.
By “Generate email” feature, you can preview a chosen template. It shows you on the right besides the tab.
In the product filter you can choose the attributes for products you want to include in newsletter. For detailed filter explanation and their usage check in the documentation a section Product filter.
Next step is creating the target audience – customers group the newsletter is dedicated to. Description of all filters can be found here – Customer filters.
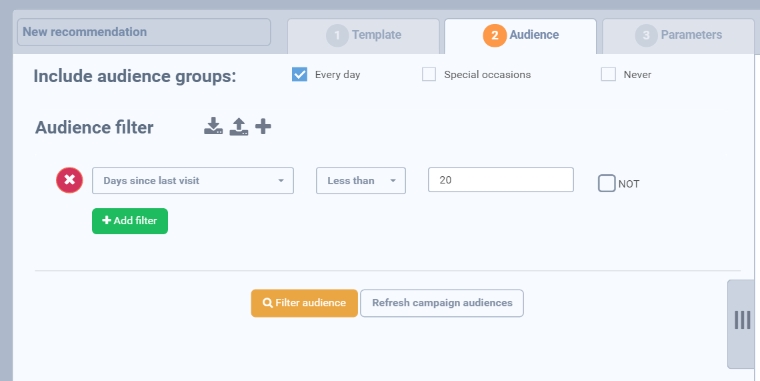
By hitting the “Filter audience”, Yottly displays the number of customers in this audience.
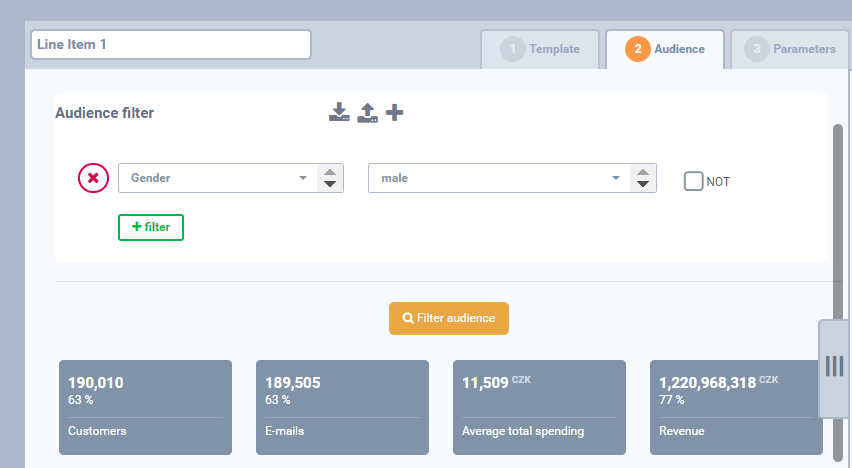
- Customers – number of all e-mail adresses in your database
- E-mails – number of e-mail adresses in your database, after duplicates and non-existing adresses were removed
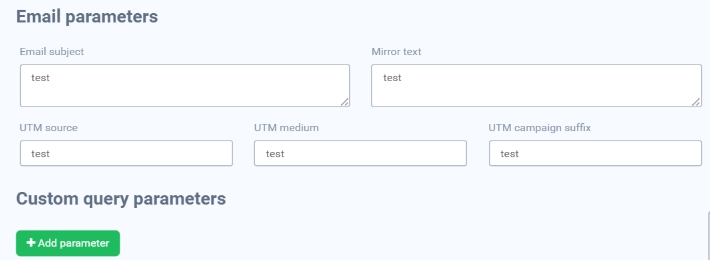
The last step allows you to set the Email subject. This is also an important part since your subject line presents the first impression on your customers. Sometimes it can be even more important as email body and it is u quite often decisive component which can persuade the customer to preview the email.
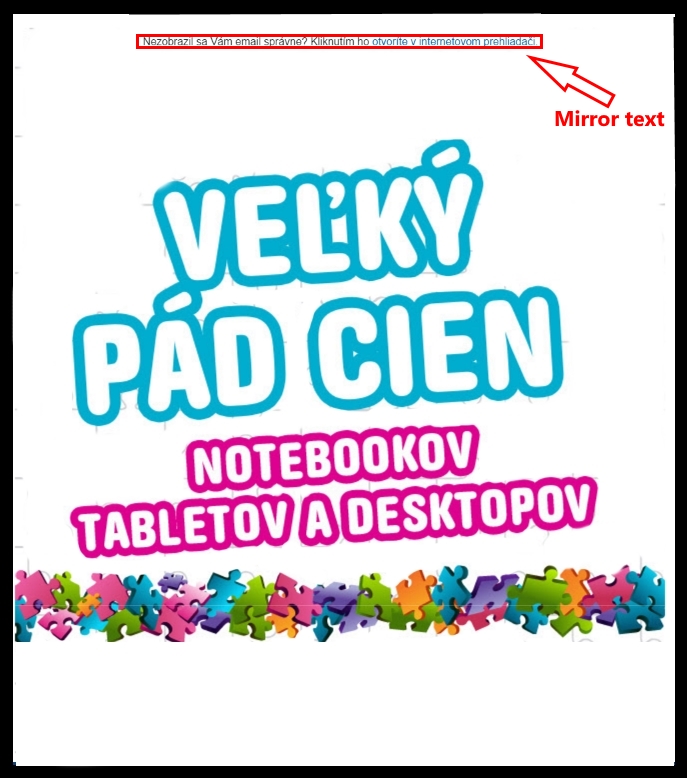
- Mirror text – the text shown in email subject
- UTM source – to identify a search engine, newsletter name, or other source.
- UTM medium – to identify a medium such as email or cost-per- click
- UTM campaign suffix – Used for keyword analysis. Use utm_campaign to identify a specific product promotion or strategic campaign.
The example of mirror text:

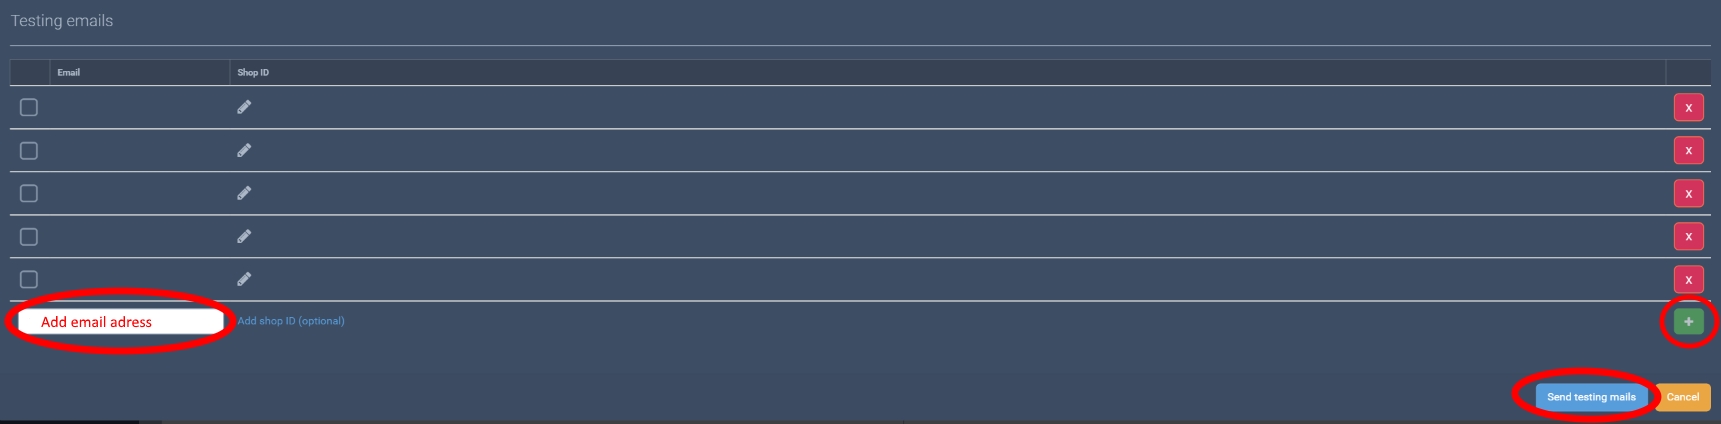
After setting all parameters it is always very useful to send testing email so you can see the newsletter is working properly.
For sending testing mail click on small envelope icon. Than you need to fill in email address, green Plus button and Send testing mails.
Shop ID
If you want to pair the personalized content of the testing mail with a specific customer, fill in Shop ID. This ID must be the same as one of customers ID from customer feed.
After receiving the email make sure all links work properly, try to click on them and also make sure products are shown correctly.
A.I. campaign
While using A.I. campaign, Yottly automatically targets the audience based on the products, you put in. You can simply change the number of customer via the slider. Yottly always delivers the newsletter to customers, that are most likely to buy the product, you are advertising.
Start by going to the calendar and pick a day. Click on the arrow next to the “+Add campaign” button and select “Add A.I. campaign”. Or start by hitting “+Add campaign” and then hit “Add A.I. email”.

Now you need to select products, that you are going to advertise in this campaign, set up a subjects, etc. Hit the “Edit” button and set the properities the same way, as in a classic campaign.
Audience targeting
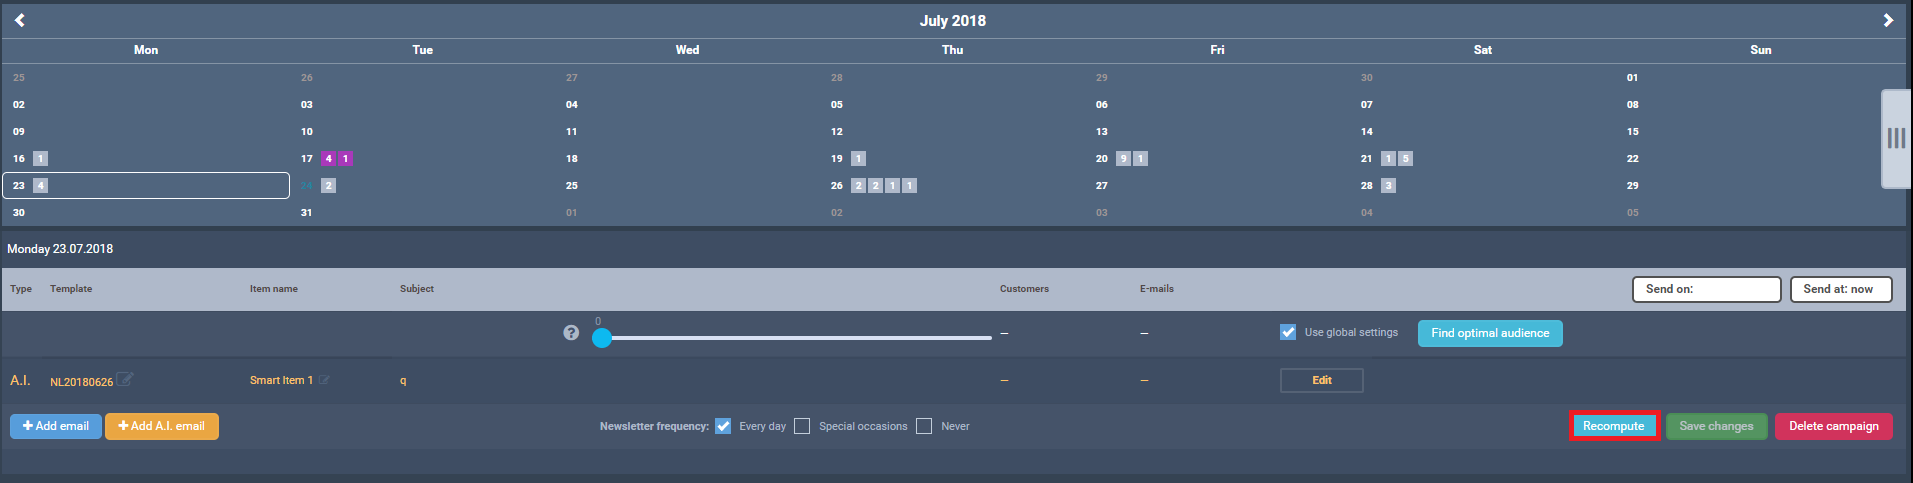
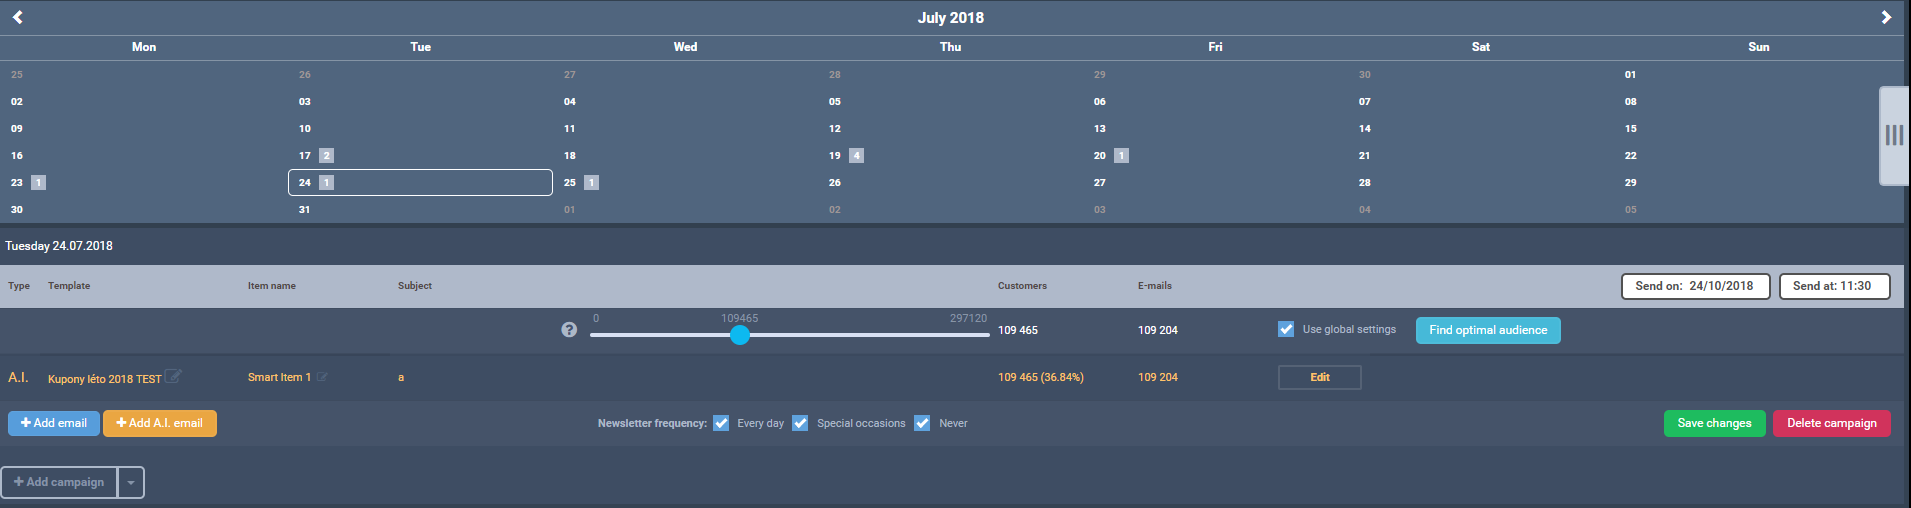
While using A.I. campaigns, you target the audience in the calendar via a slider. As we mentioned above, Yottly automatically targets customers, that are likely to buy the products, you put into earlier.
Once you finish the set up of your campaing, hit “Save and exit” button on the left side. Hit the “Find optimal audience” button, and the number of targeted customers displays above the slider. If you want to enlarge or reduce the number of targeted customers, simply move the slider. You can always come back to the optimal audience chosen by Yottly with the button.
My database has more than one million customers
We added an extra button for really large e-shops in Yottly – Recompute. If you decide to select the number of customers by yourself, please, hit the “Recompute” button after every move of the slider.