API trigger
To sent e-mails via this API trigger, it is required to call Yottly API
Create campaign
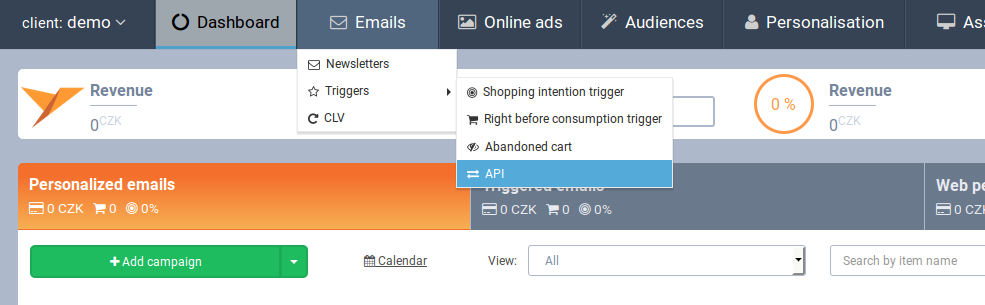
- In the menu, select Emails>Triggers>API.
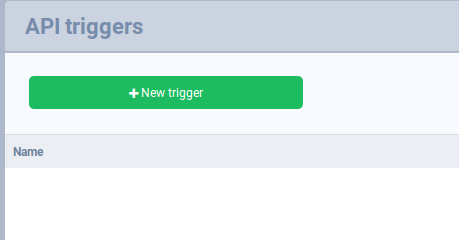
- Click on +New trigger
- Campaign settings
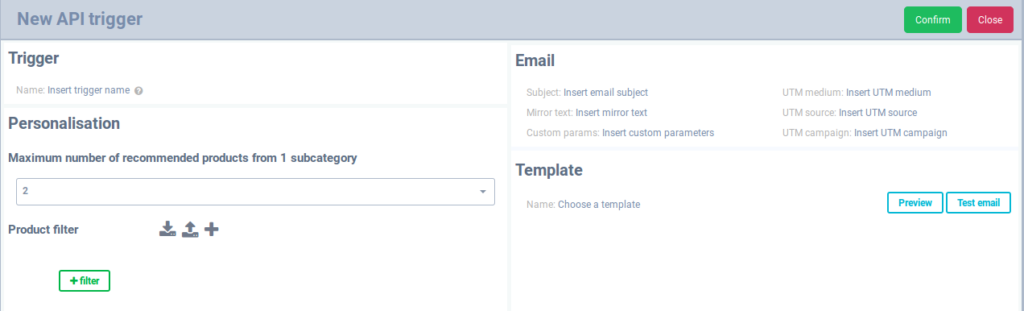
Name – it has to be the same ascampaignNamein API request.
Personalisation – filtering personalised products by Yottly using standard product parameters
Email – subject, mirror text (second subject), UTM
Template – only Segmentation and Personalised types of template are supported.- The template can contain any customer parameter, which you would like to display.
- Use the parameters in the following format:
{{customer_custom_param_*yourParameter*}}where *yourParameter* can contain alphanumeric characters (A-Z+a-z+0-9, case-sensitive)
- If your API call does not include the parameter (or its value is an empty string) used in a template, nothing will be displayed at the place
- You can create IF/ELSE blocks using Mustache.js syntax (https://mustache.github.io/mustache.5.html), e.g.
{{#customer_custom_param_product2Title}} This part of the template will not be displayed, if the API call does not include parameter "product2Title" or its value is an empty string {{/customer_custom_param_product2Title}}{{^customer_custom_param_product2Title}}This part of the template will be displayed, if the API call does not include parameter "product2Title"or its value is an empty string{{/customer_custom_param_product2Title}}
- Click on Confirm to confirm your changes or discard them by clicking on Cancel.
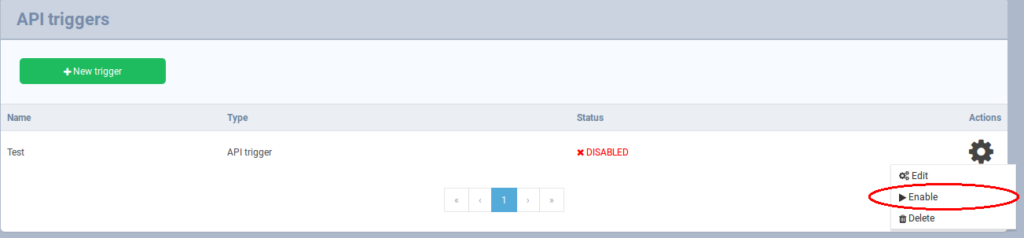
- Enable the campaign
ⓘ If you edit already running campaign, it will not be disabled after clicking on Confirm. (unlike any other campaign in Yottly) - E-mail is sent immediately after your API call if the API trigger campaign with corresponding Name is enabled.

